What Is the Best Recurve Bow for a Beginner?
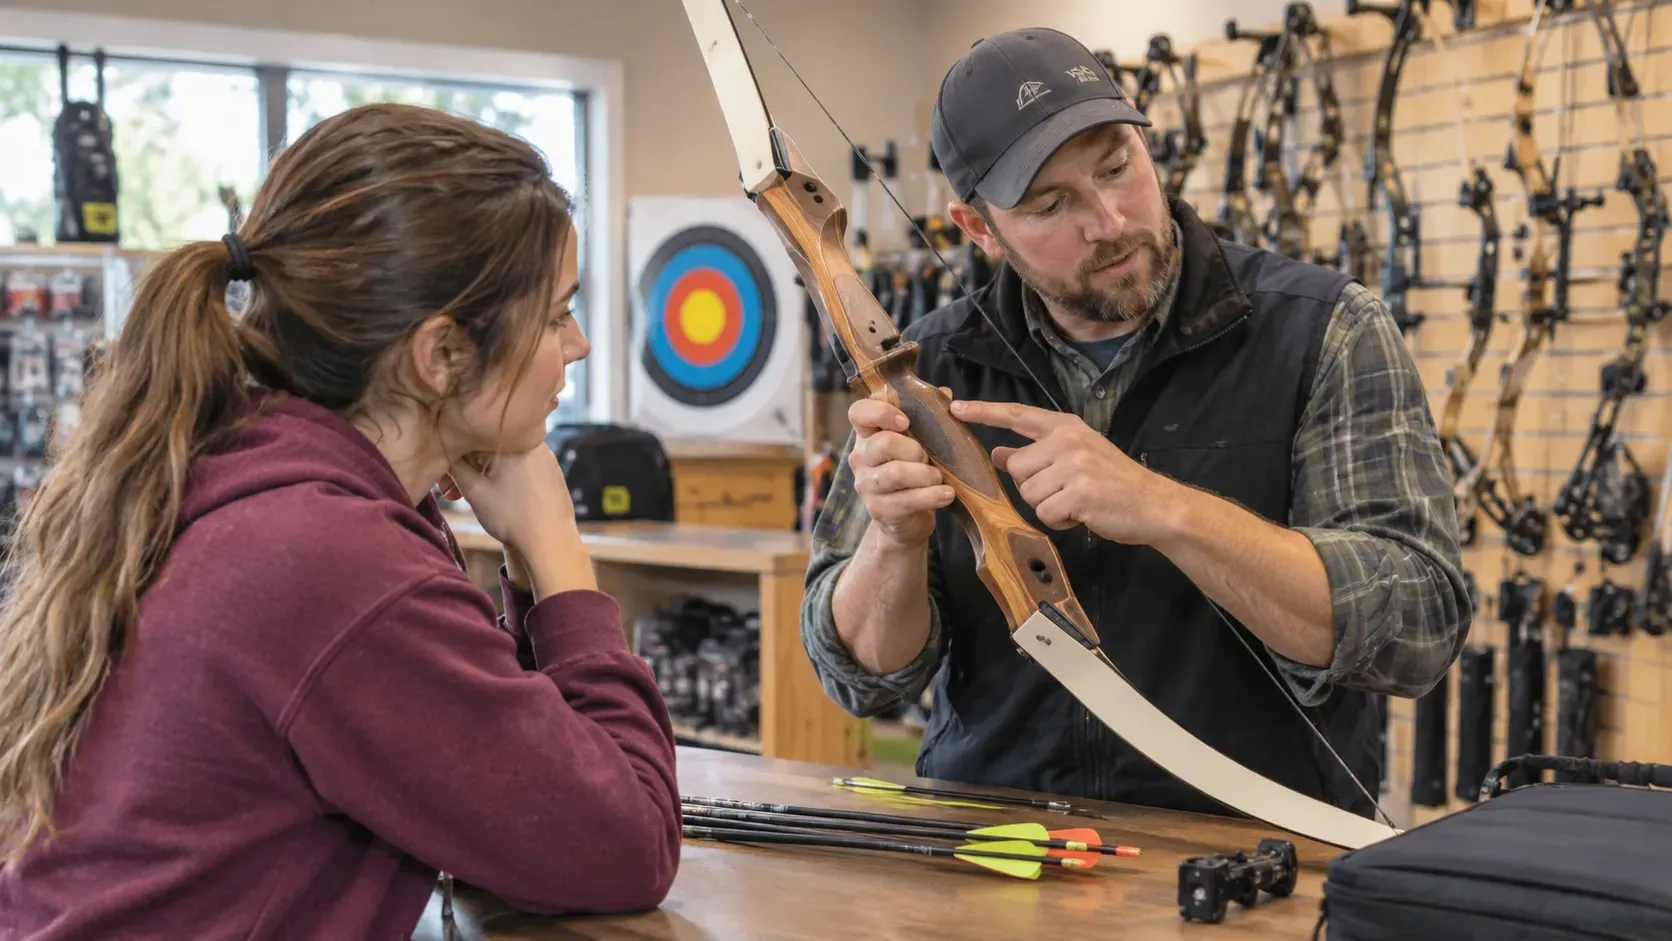
Table of Contents
- The Short Answer
- What Makes a Good Beginner Recurve Bow
- How to Choose a Recurve Bow Step by Step
- Setting Up at Home or for a Group
- Common Misunderstandings
- What Typical Online Advice Overlooks
- A Realistic Scenario
- Risks, Limitations, and Trade-Offs
- Conclusion
- Frequently Asked Questions
Key Takeaways
- The best beginner recurve bow is usually a takedown model with a comfortable, light draw weight that you can pull smoothly and hold steady for several seconds.
- Draw weight matters more than brand. A bow that is too heavy builds bad habits and tires you out, while a lighter bow lets you focus on form.
- Fit matters as much as features. Your draw length, height, and dominant eye affect which recurve bows for beginners will feel right.
- Arrows must match the bow. Using arrows that are the wrong spine or length for your draw weight is a safety and accuracy problem.
- Trying a bow in person, ideally with a lesson, is the most reliable way to avoid an expensive mismatch.
Introduction
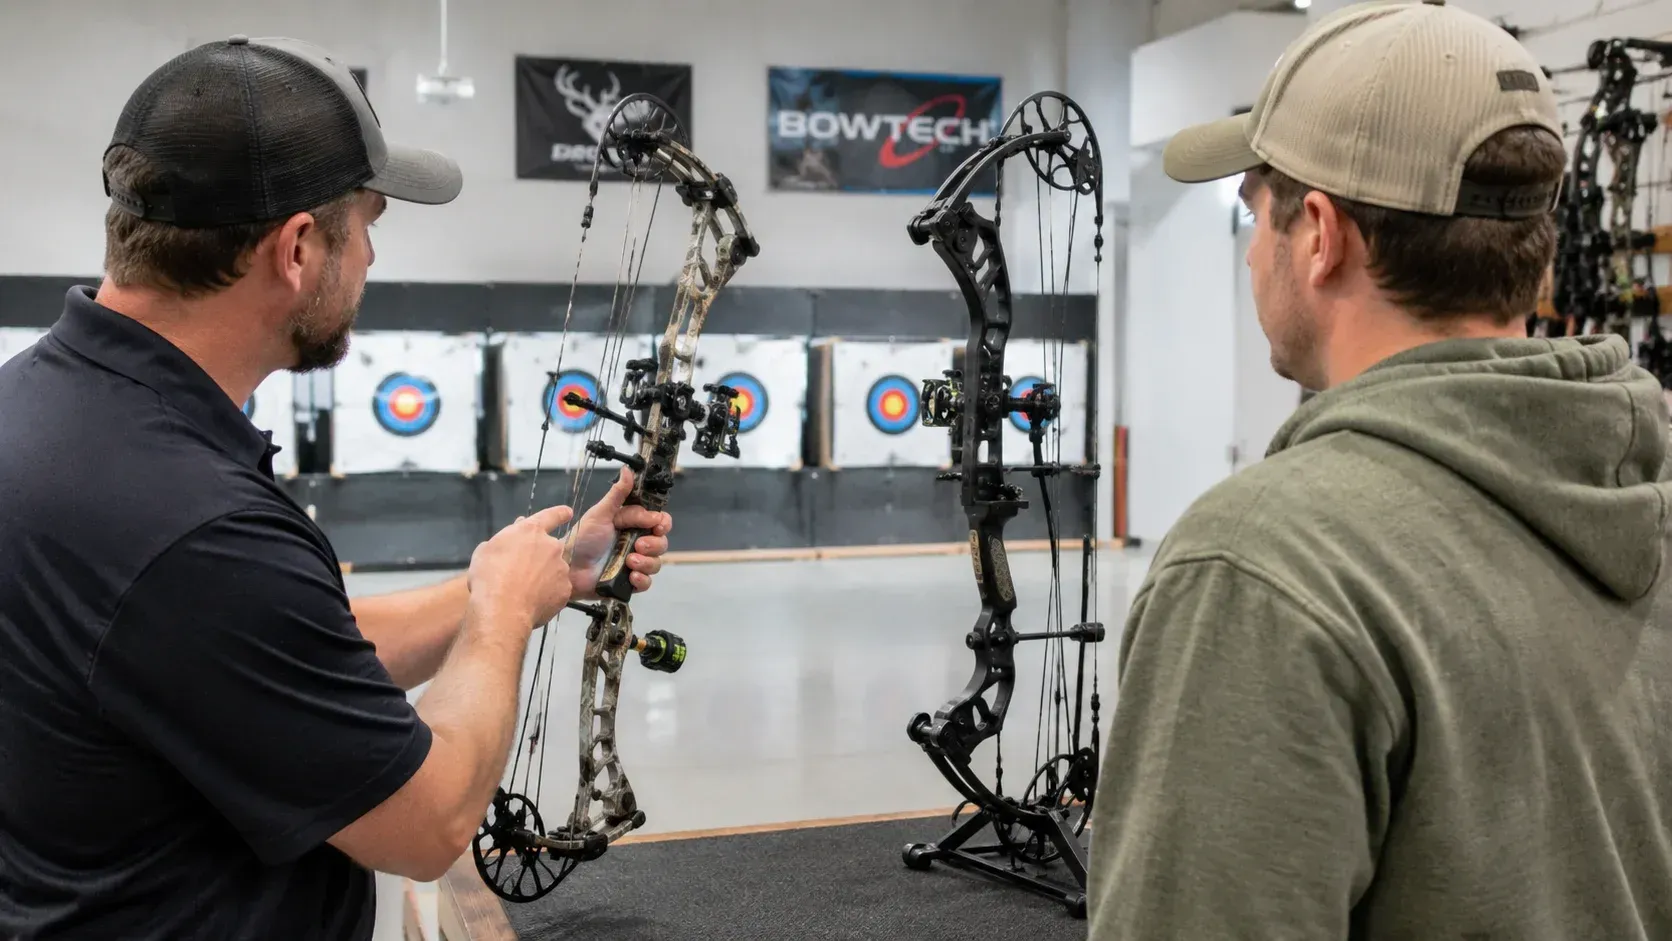
The best beginner recurve bow is a takedown recurve with a light, manageable draw weight that fits your body and lets you practice good form without strain. It is not the strongest or most expensive bow in the shop, because power makes early mistakes harder to correct. That matters whether you are buying for a backyard hobby, a family activity, or a small group at work, since the wrong bow can slow progress or make archery feel frustrating. If you are comparing options, you can look at the recurve bows offered at Southern Oregon Archery on Pine St in Central Point and see how different sizes and weights feel in hand.
This article explains what to look for, walks through how to choose a recurve bow in a practical order, and covers setup considerations for homeowners and business owners. It also points out details that many beginner guides skip, such as arrow matching and local rules for shooting at home.
What Makes a Good Beginner Recurve Bow
Direct Answer: A good beginner recurve bow is adjustable or easy to resize, light enough to draw smoothly, built from durable materials, and compatible with common accessories and arrows.
Takedown Design
A takedown recurve separates into a riser and two limbs, which makes it easy to transport and store. It also lets you swap limbs later to a heavier draw weight as your strength and form improve, so you do not have to replace the whole bow. For a beginner, that flexibility can make the first purchase more useful over time.
Light, Manageable Draw Weight
Draw weight is the force needed to pull the string to full draw. Beginners are usually better off starting lighter than they think they need to, because a bow you can control encourages proper back and shoulder use instead of arm strain. A common sign that a bow is too heavy is shaking at full draw or being unable to hold without leaning back or lifting the bow arm.
Comfortable Grip and Balance
The grip should feel natural and not force your wrist into an awkward angle. A balanced riser makes the bow easier to aim, especially during early sessions when your muscles are still adapting.
Durable Limbs
Limbs take most of the stress. Beginner-friendly limbs are typically built to handle regular practice and occasional mistakes, such as a slightly imperfect release.
How to Choose a Recurve Bow Step by Step
Direct Answer: Choose a recurve bow by confirming your draw length, picking a light draw weight, deciding between a rental or purchase, and matching arrows and accessories to the bow.
Step 1: Measure Your Draw Length
Draw length is how far you pull the string back, and it determines bow length and arrow length. A shop can measure it quickly. Guessing can lead to a bow that is too short or too long for your frame, which affects comfort and accuracy.
Step 2: Pick a Draw Weight You Can Control
Pick a weight you can draw smoothly with good posture and hold steady for several seconds. If you struggle to reach full draw without twisting your body, the bow is too heavy. It is common to start lighter and move up as you gain strength.
Step 3: Consider Lessons Before Buying
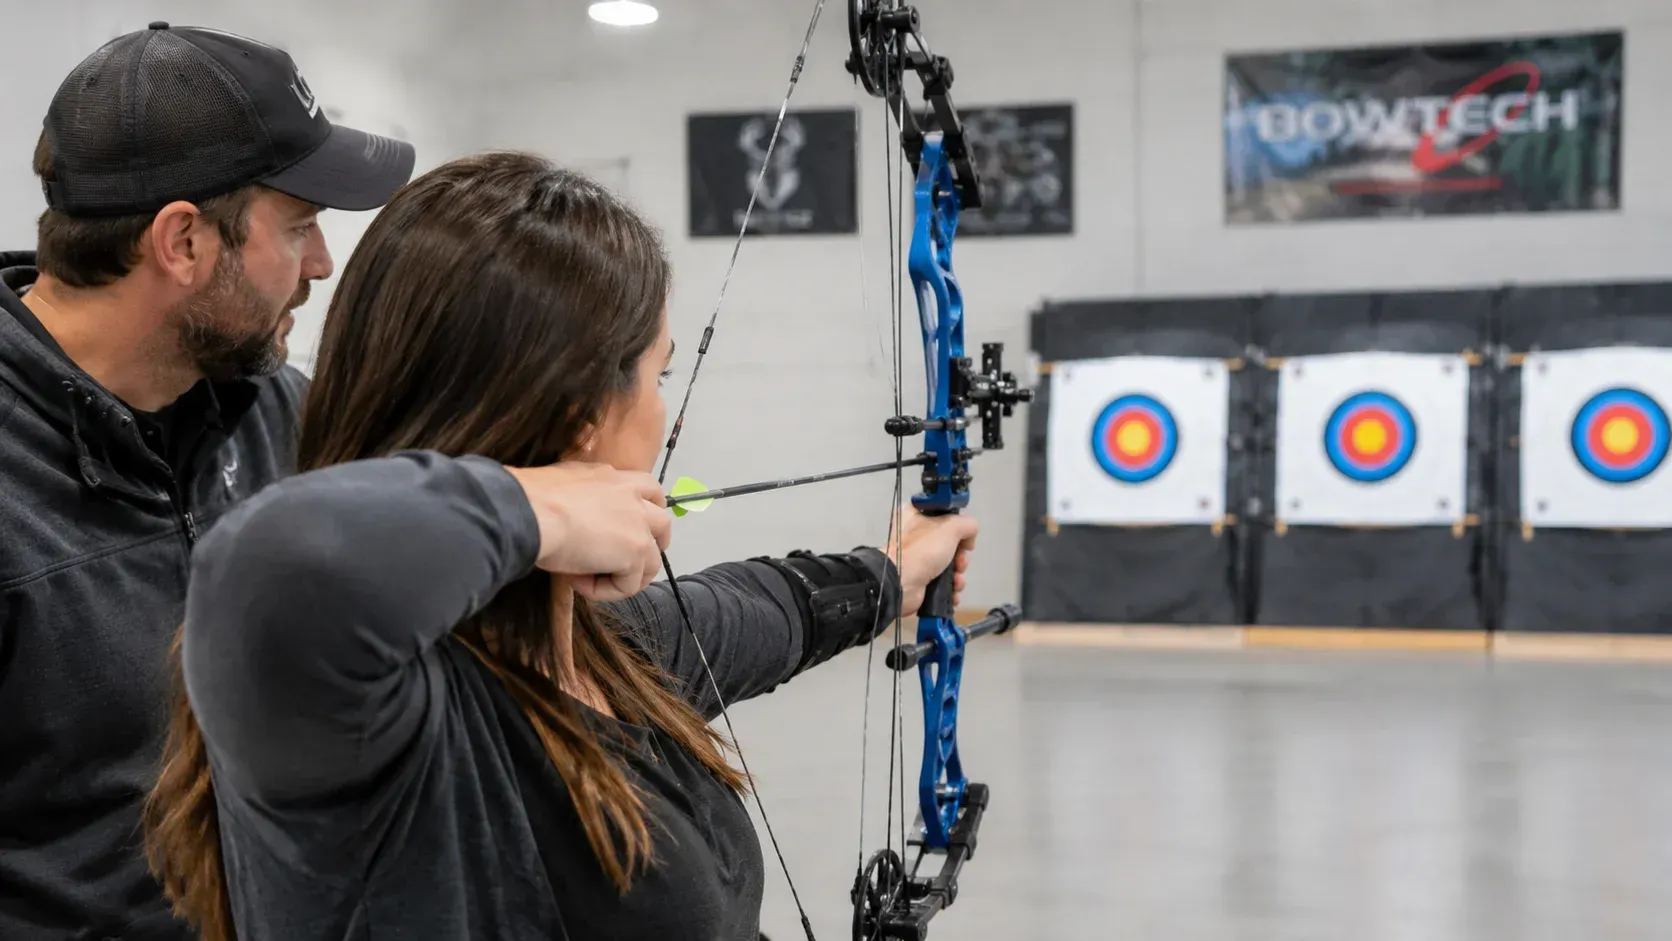
Trying a bow with instruction can save money and frustration. A coach can watch your form and recommend a draw weight that suits you. Booking archery lessons and range time before you commit lets you test several setups.
Step 4: Match Arrows to the Bow
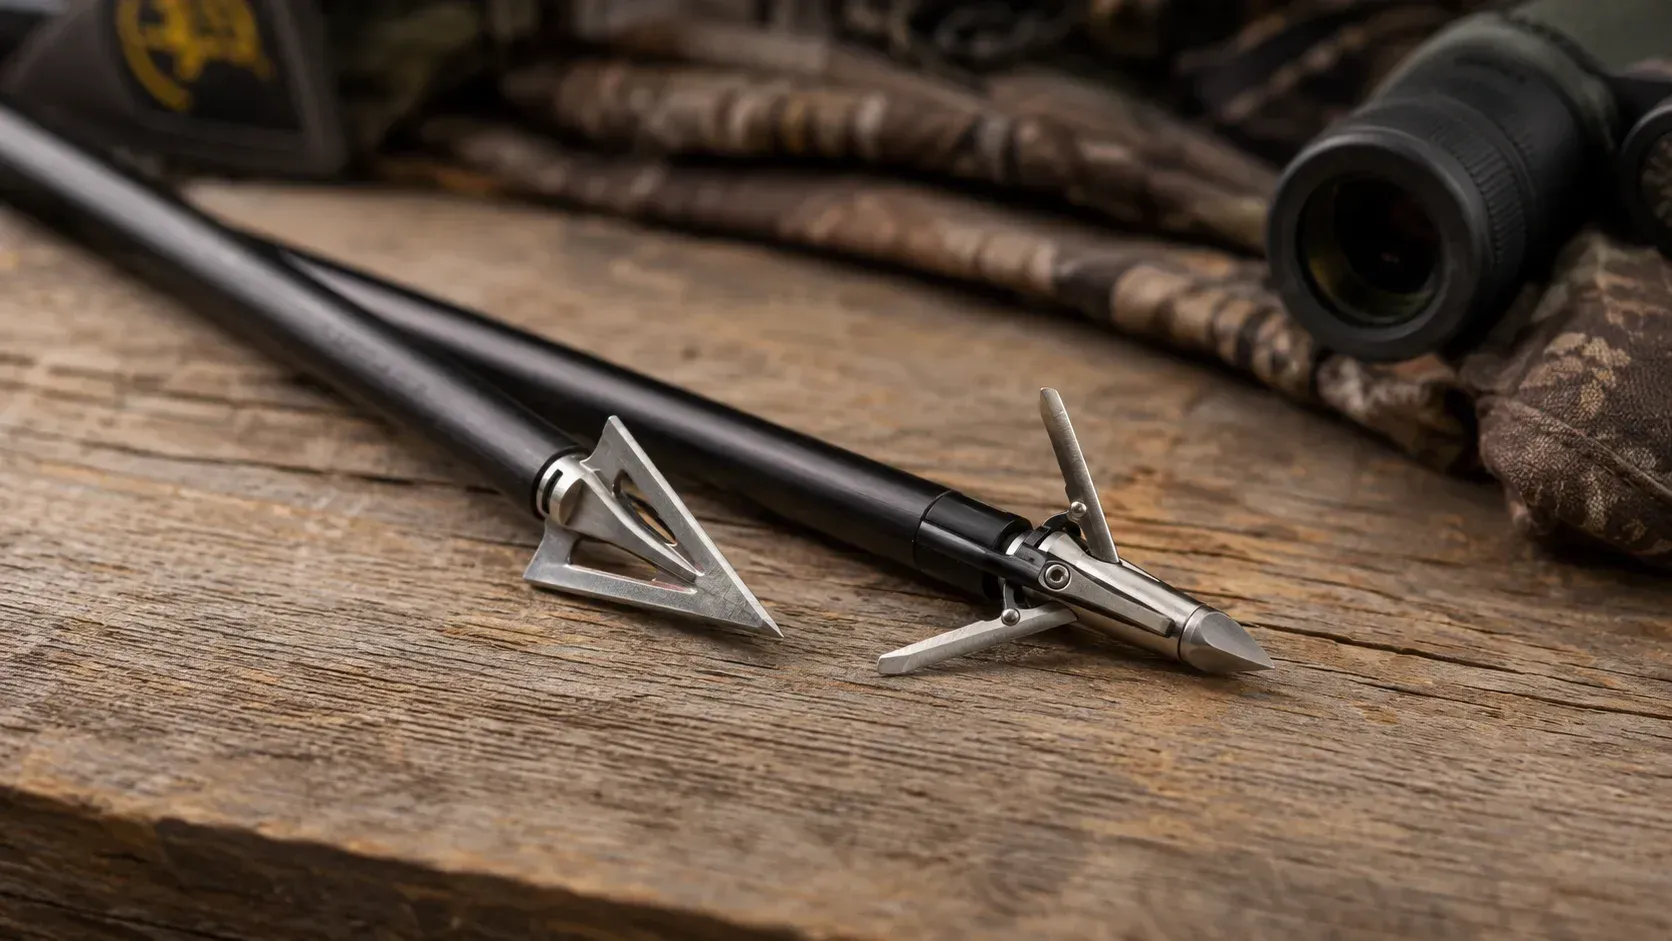
Arrows must be the right length and spine for your draw weight and draw length. Spine refers to how much an arrow flexes when shot. An arrow that is too weak for the bow can be unsafe, and one that is too stiff will fly inconsistently. This is one reason it helps to buy arrows with guidance rather than choosing by price alone.
Step 5: Add Only the Accessories You Need
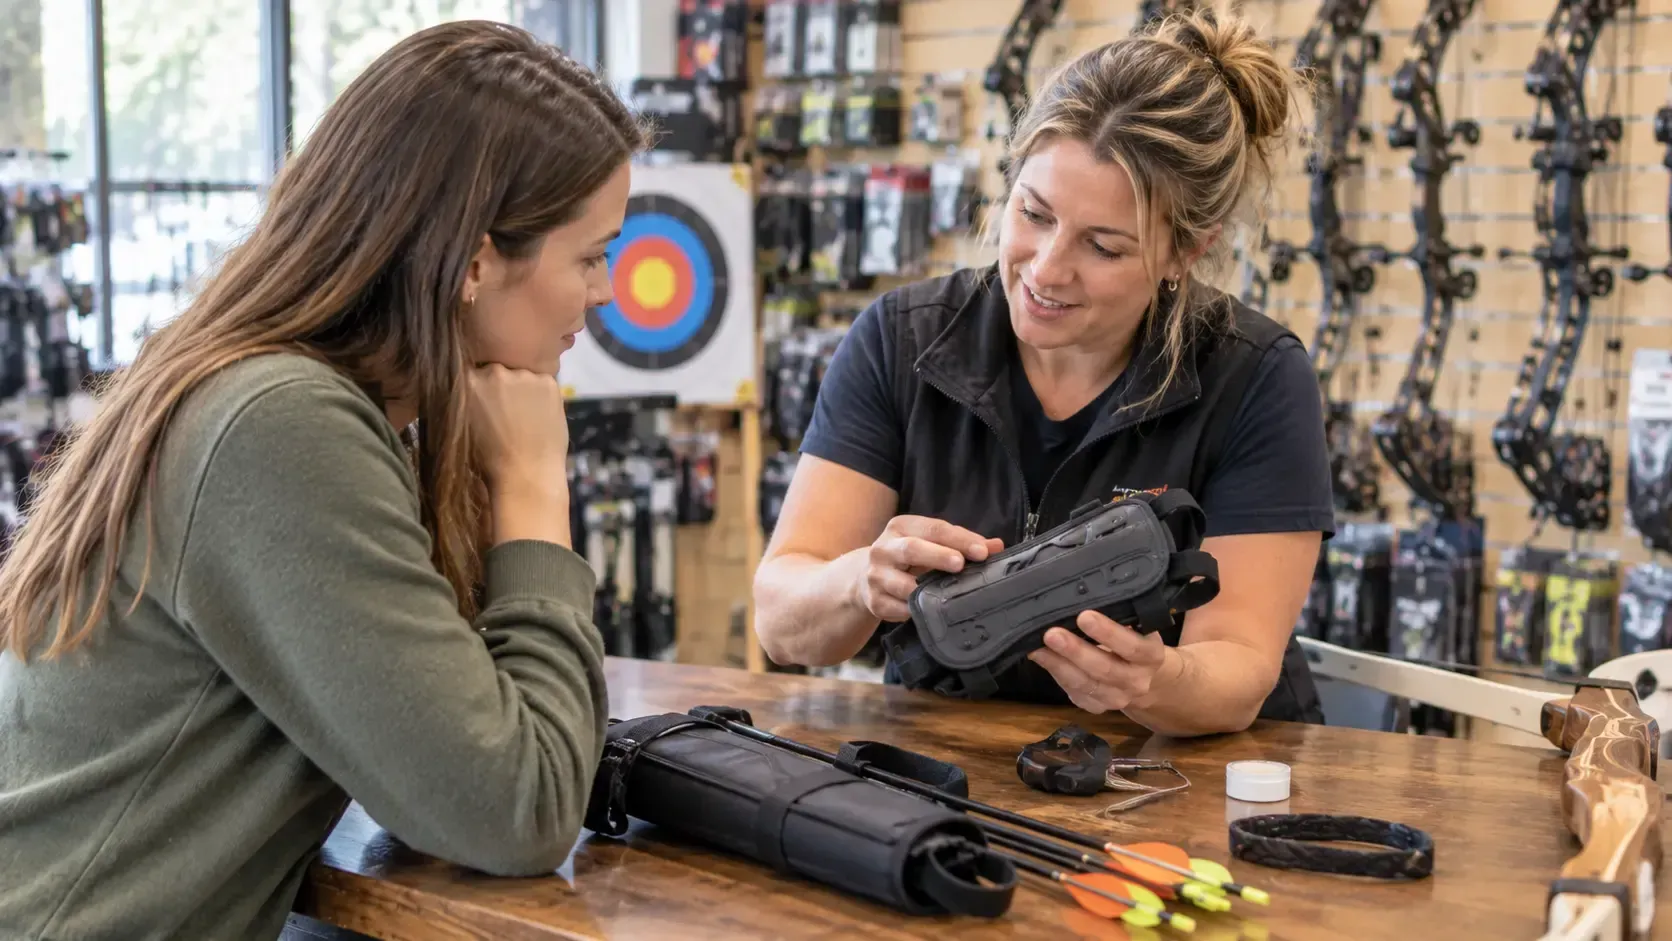
Beginners usually need an arm guard, finger protection such as a tab or glove, a quiver, and a bow stringer for safe stringing. A shop with a full range of bow and accessories can help you pick just what you need to start, and you can add sights, stabilizers, and other extras later once your basic form is consistent.
Step 6: Plan for Maintenance
Strings wear out and need waxing and eventual replacement. Learning basic care early helps your equipment last and keeps shooting safe and consistent.
Setting Up at Home or for a Group
Direct Answer: Shooting at home or with a team requires a safe backstop, enough distance, clear rules, and awareness of local regulations.
Backyard Considerations for Homeowners
A safe backyard setup needs a sturdy backstop that can stop arrows reliably, a clear zone behind the target, and a boundary that keeps people and pets out of the shooting line. Check local ordinances and property rules before you shoot, since some areas restrict discharging projectiles in residential zones. Rules vary, so confirm what applies to your property with your city or county.
Group and Team Considerations for Business Owners
If you are thinking about archery as a team activity, a supervised range with trained staff is often easier than setting up your own space. Instructors can handle equipment, safety instructions, and different skill levels. If you plan to host an event, ask the range about group arrangements and what is included. Confirm any insurance or liability needs for your business directly with a qualified professional.
Storage and Care
Store the bow unstrung when possible, away from heat, moisture, and direct sun. Keep arrows and tools out of reach of children, and store the bow where it will not be knocked over.
Common Misunderstandings
Common belief: A heavier draw weight is more impressive and better. What is actually true: A heavier bow is harder to control, which can reinforce poor technique. Why it matters: Beginners improve faster with a bow they can draw and hold comfortably.
Common belief: All recurve bows for beginners are basically the same. What is actually true: Bow length, draw weight, grip, and limb quality vary widely, and they affect fit and comfort. Why it matters: A bow that does not fit can discourage practice.
Common belief: You can buy any arrows that look right. What is actually true: Arrows must be matched to the bow's draw weight and your draw length. Why it matters: A mismatch affects safety and accuracy.
Common belief: You need to buy everything at once. What is actually true: Start with essentials and add accessories as your skills develop. Why it matters: Beginners often outgrow early purchases or find they prefer different gear.
What Typical Online Advice Overlooks
Fit Beats Specifications
Many articles compare specs without noting that comfort and body mechanics shape results. A bow that looks perfect on paper may feel awkward if it does not suit your frame or dominant eye.
Dominant Eye and Hand
Right-handed and left-handed bows are not interchangeable, and your dominant eye does not always match your dominant hand. Checking this early prevents buying a bow you cannot aim naturally.
The Cost of Starting Too Heavy
Starting with a bow that is too heavy can lead to fatigue, inconsistent shots, and sometimes strain. Beginners often feel pressure to buy a stronger bow, but lighter draw weight is often the more productive path.
Support After the Sale
Having a nearby shop that can string, tune, and adjust your bow matters. Equipment needs periodic attention, and local support makes small problems easier to fix.
A Realistic Scenario
Consider a hypothetical homeowner who wants to try archery in the backyard with a family member. They buy a heavy bow online because it looks powerful and arrive at their first session unable to draw it smoothly. Their arrows land inconsistently and they lose interest after a week.
After visiting a local shop, they switch to a lighter takedown recurve, get measured for draw length, and buy matching arrows. Within a few sessions, their grouping improves and they enjoy practicing. In this example, the change was not a better brand but a better fit. This is an illustrative example, not a documented case, and results vary by person.
Risks, Limitations, and Trade-Offs
This guide gives general advice, and the right bow depends on your body, goals, and budget. A takedown bow offers flexibility, but some beginners prefer a simple one-piece bow for its lower complexity. Lighter draw weights are easier to learn on, though some archers outgrow them quickly and upgrade sooner. Buying online can save time, but it makes fit and arrow matching harder to confirm. Shooting at home also involves safety and legal considerations that this article cannot fully cover, so check local rules and consider professional guidance.
Conclusion
The best beginner recurve bow is one that fits your body, has a draw weight you can control, and works with correctly matched arrows. A takedown design offers room to grow, and starting lighter than you think often leads to faster progress. Getting measured, trying a bow with instruction, and adding accessories gradually will help you avoid costly mismatches. Whether you are setting up at home or exploring archery for a group, a safe space and good guidance matter as much as the equipment.
Choose Your Beginner Recurve Bow in Central Point, OR
If you want help choosing a beginner recurve bow, it helps to talk through your goals, measure your draw length, and try a few setups in person. Southern Oregon Archery's shop on Pine St in Central Point can walk you through fit, draw weight, and arrow matching so you can choose with more confidence.
If you have questions about your situation, whether for home use or a group activity, you can
contact us
and ask what to bring and what to expect.
Frequently Asked Questions
What draw weight should a beginner recurve bow have?
It should be light enough to draw smoothly and hold steady for several seconds with good posture. A shop or coach can recommend a starting weight based on your size, strength, and goals.
Is a takedown recurve better for beginners?
Often, yes. Takedown models are easier to transport and let you change limbs as you progress. Some beginners still prefer a simpler one-piece bow, so try both if you can.
Do I need lessons before buying a recurve bow?
Not required, but helpful. A lesson can confirm your draw length, dominant eye, and comfortable draw weight, which reduces the risk of buying equipment that does not fit.
What accessories do beginners need?
Most need an arm guard, finger protection, a quiver, and a bow stringer. Sights, stabilizers, and other extras can wait until your form is consistent.
Can I shoot a recurve bow in my backyard?
It depends on local rules and your property. You need a safe backstop and clear space, and some areas restrict shooting in residential zones. Check city or county regulations first.
Recent Posts